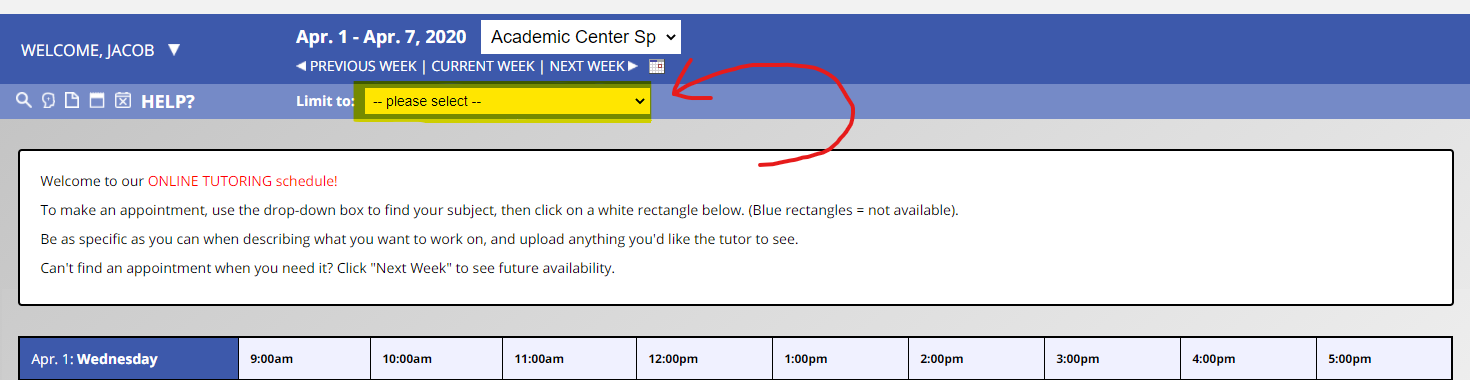
To make an appointment, go to WCOnline and login. If it’s your first visit, create an account using your UConn email. Login, and then you’ll see our schedule. Use the “limit to” drop-down list at the top to find your subject and you’ll see the available tutors for your subject, as shown below:
To make an appointment:
- Click on any white square next to the corresponding tutor to reserve your appointment.
- In the pop-up window that appears, choose Face-to-Face (in-person), Online Tutoring (video chat) or E-Tutoring (asynchronous).
- Fill in the subject, instructor, and some information on what you’d like to cover (please be as specific as you can about the kinds of questions you have). If it is an accountability session, please include this in your subject or description.
- Finally, upload any document that will be helpful for your tutor to access–your assignment, a paper draft, etc.
- Click on “Save Appointment” and you’re done.
Press the “Start or Join Online Consultation” icon in order to join online tutoring appointments. For E-tutoring, you will not be able to join a meeting, so you must post all documents in the upload document area when scheduling the initial appointment.
Making an in-person consultation:
- In-person appointments can either be made online via the method listed above, or by visiting us at the Academic Center in ACD 107. The desker on duty can help you through the process or set you up with a walk-in appointment.
When it’s time for your Online Tutoring session, follow these instructions:
- Sign in to uconn.mywconline.net
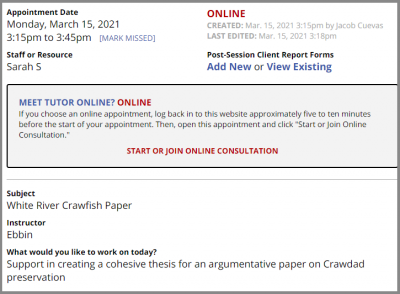
- Click on the box that serves as the placeholder for your scheduled tutoring session.
- On the new window that appears, you will see the details for your appointment and a gray box underneath that has the phrase “START OR JOIN ONLINE CONSULTATION” in red letters – click on that phrase to follow the link to the appointment session.
- A new tab will open that will navigate you to the tutoring session. When pop-ups appear asking permission to use your webcam and mic, click “Allow” for both.
- Take a moment with your tutor to make sure that you can see and hear each other. If your tutor has not “arrived” to your session yet, then please wait! They will join you shortly.